

Wall Heel Slides vs Floor Heel Slides: Which Knee Flexion Stretch Should You Use?
 Dr. Joe Armeli, DPT
For at least your first month, do your heel slides lying on your back — it's the version you can actually get into position for, and the stretch stays in your control. The wall version has its place, but it's a later tool, not a starting point.
If you've come home from a total knee replacement (TKR) with "do your heel slides" on a printed sheet, the next question is usually where: lying on your back and sliding the heel, or legs up a wall letting gravity pull the knee into a bend? I get asked this constantly, and my answer is more direct than you might expect: stay on your back for at least the first month. Here's why.
Key Takeaways
| Question | Quick Answer |
|---|---|
| What's the main difference between wall and floor heel slides? | Wall heel slides use gravity to pull the heel down as your leg rests up a wall. Floor heel slides require you to actively drag the heel yourself. |
| Which one should I start with? | The lying-on-your-back version — in bed or on a firm surface at first. It's easy to get into position for, and you control exactly how far the stretch goes. Save the actual floor for when you can get down and up safely. |
| Which one is easier to measure? | Floor heel slides, especially with a heel slide board that gives you the same smooth surface to gauge your bend on week over week. |
| Is one harder on the shoulders or hips? | Wall heel slides can strain shoulders getting into position; floor/long-sitting can round the low back and hips if you're stiff. |
| Do both stretches target the same motion? | Yes, both are knee flexion (bending) drills. Neither directly fixes extension, which is a separate goal. |
| Where can I see every heel slide variation? | Our full heel slides guide covers technique and every variation in detail. |
| Where do wall heel slides fit? | As an optional plateau-breaker once you can get down to the floor safely — around two months for most people. Gravity delivers a stronger stretch than a fresh knee is ready for, so clear it with your PT. Our 12-week knee replacement recovery checklist maps the overall pace. |
Wall Heel Slides vs Floor Heel Slides: What Actually Changes When You Change Position
The exercise looks almost identical on paper. You bend the knee, you slide the heel, you hold, you release.
But the position of your body relative to gravity changes everything about who should be doing it and when.
Wall heel slides put you on your back with your leg up a wall or doorframe, so gravity pulls the heel down into flexion for you. Floor heel slides (whether seated long-sitting or lying flat) ask your hamstring and calf muscles to do the pulling, usually with your own hands, a strap, or a board assisting.
That single mechanical difference is the whole decision. Gravity-assisted versus muscle-assisted. Everything else — comfort, control, measurability — flows from that one fact.
One thing to clear up before we compare: "floor" heel slides are really about the position — flat on your back — not the surface. Early on, do them in bed or on a firm couch. The actual floor can wait until you can get down and back up safely, which takes most people around two months of consistent work.
Floor Heel Slides: Where You Should Start — Setup, Pros and Cons

Setup: Lie flat on your back — in bed early on, or on a mat or the floor once you can get down and up safely — then actively drag the heel back toward your hips using your own muscles, a hand pull, or a strap. Long-sitting (seated, legs straight out) is the other common variation once you're floor-ready.
Bedsheets and carpet fight you the whole way, which is exactly why patients complain this version feels harder than it should be.
Who this suits: everyone, from day one — this is the version I want you doing for at least the first month, starting right in your bed. It's the one most rehab protocols prescribe, it needs no special setup, and you control every degree of the bend. Use your hands, a strap, or a board to assist while the quad and hamstring wake back up. We wrote a full guide to doing heel slides in bed for those first weeks.
Pros:
- You control the intensity rep to rep, easing off the moment it's too much
- Works on a bed, couch, or floor, no wall or doorframe required
- Pairs directly with a heel slide board, which is genuinely the right tool here, since a low-friction surface stops your heel from snagging on carpet or sheets
Cons:
- Requires more active muscle firing early on — that's what the hand pull, strap, or board assist is for, not a reason to switch versions
- Long-sitting can round the low back and hunch the shoulders forward if your hamstrings are tight
- The actual floor is a later stop — getting down and back up safely takes most people around two months, so stay on the bed until then
A yoga stretch strap solves a lot of the floor version's control problem. Loop it around the foot, pull with your hands, and you get graded assistance instead of relying purely on your own hamstring pull.

Wall Heel Slides: The Later Add-On — Setup, Who It Suits, Pros and Cons

Setup: Lie on your back on a mat near a wall or open doorway, hips close to the wall, both legs extended up it. Let the heel of the surgical leg slide down the wall as the knee bends, then straighten it back up.
Who this suits: patients further along — able to get down to the floor and back up safely, which takes most people around two months — who've hit a flexion plateau and want a stronger end-range stretch, with their surgeon or physical therapist's blessing. It can also suit patients in hip replacement recovery who want a controlled, symmetrical position with no twisting.
Pros:
- Gravity supplies steady force at end range, delivering a deeper stretch than most people will give themselves
- Both legs stay in a neutral, hip-friendly line, good for anyone still respecting hip precautions
- A useful plateau-breaker once the joint has calmed down and tolerates more aggressive flexion work
Cons:
- Getting into position is a project — it requires the same down-to-the-floor transfer that takes most people around two months to do safely, and any setup that's a struggle is exactly the kind of barrier that makes people skip sessions
- That same gravity assist keeps pulling past the point where you'd ease off on your own — more stretch than a fresh, swollen knee is ready for, and a reliable way to irritate it in the early weeks
- Hard to measure exact degrees of bend without a goniometer or tape on the wall
Did You Know?
The average patient loses around 60% of lower extremity muscle strength after surgery — which is why the early weeks are about showing up for every controlled session, not chasing the deepest possible stretch.
Source: Total Knee Arthroplasty Prehabilitation Protocol (UNC)
Comfort Check: Shoulder and Hip Strain in Each Position
Wall heel slides ask more of your shoulders in the transition, not the exercise itself. Scooting your hips flush to a wall, then pushing yourself back into position rep after rep, can aggravate a shoulder that's still healing from rotator cuff repair.
Floor heel slides ask more of your hips and low back during the actual stretch. Long-sitting with legs straight out puts the hamstrings and low back on stretch at the same time as the knee, which is uncomfortable if you're already stiff from lying in bed post-surgery.
Which Stretch Gives You Better Control Over Intensity
Gravity is consistent, but it isn't adjustable. Wall heel slides deliver roughly the same pull every single rep, which is great for consistency and terrible for fine-tuning.
Floor heel slides, especially with a strap or board, let you dial the stretch up or down mid-rep. You can ease off the second it crosses from "productive stretch" into "sharp pain," something gravity can't do for you.
Floor heel slides give you the steering wheel. Wall heel slides give you the engine — and early on, that's exactly the problem. A fresh knee doesn't need more force pulling it into flexion; it needs consistent, controlled reps that stop precisely where you say they stop. Gravity doesn't listen.
Measuring Progress: Wall Marks vs Floor Tracking
Progress you can measure is progress you'll keep showing up for. This is where the floor version pulls ahead.
The Floor Version's Secret Weapon: The Low-Friction Board
A heel slide board gives you a flat surface to track exactly how far your heel travels, week 1 versus week 3 versus week 6. Wall heel slides are harder to quantify without a goniometer or a piece of tape stuck to the wall at your heel's stopping point.
Neither method is wrong. But if you're someone who needs to stay motivated through knee replacement exercises, the floor version with the EquipCore Heel Slide Board gives you a friction-free surface to get your knee bending again.
Shop the Slide Board →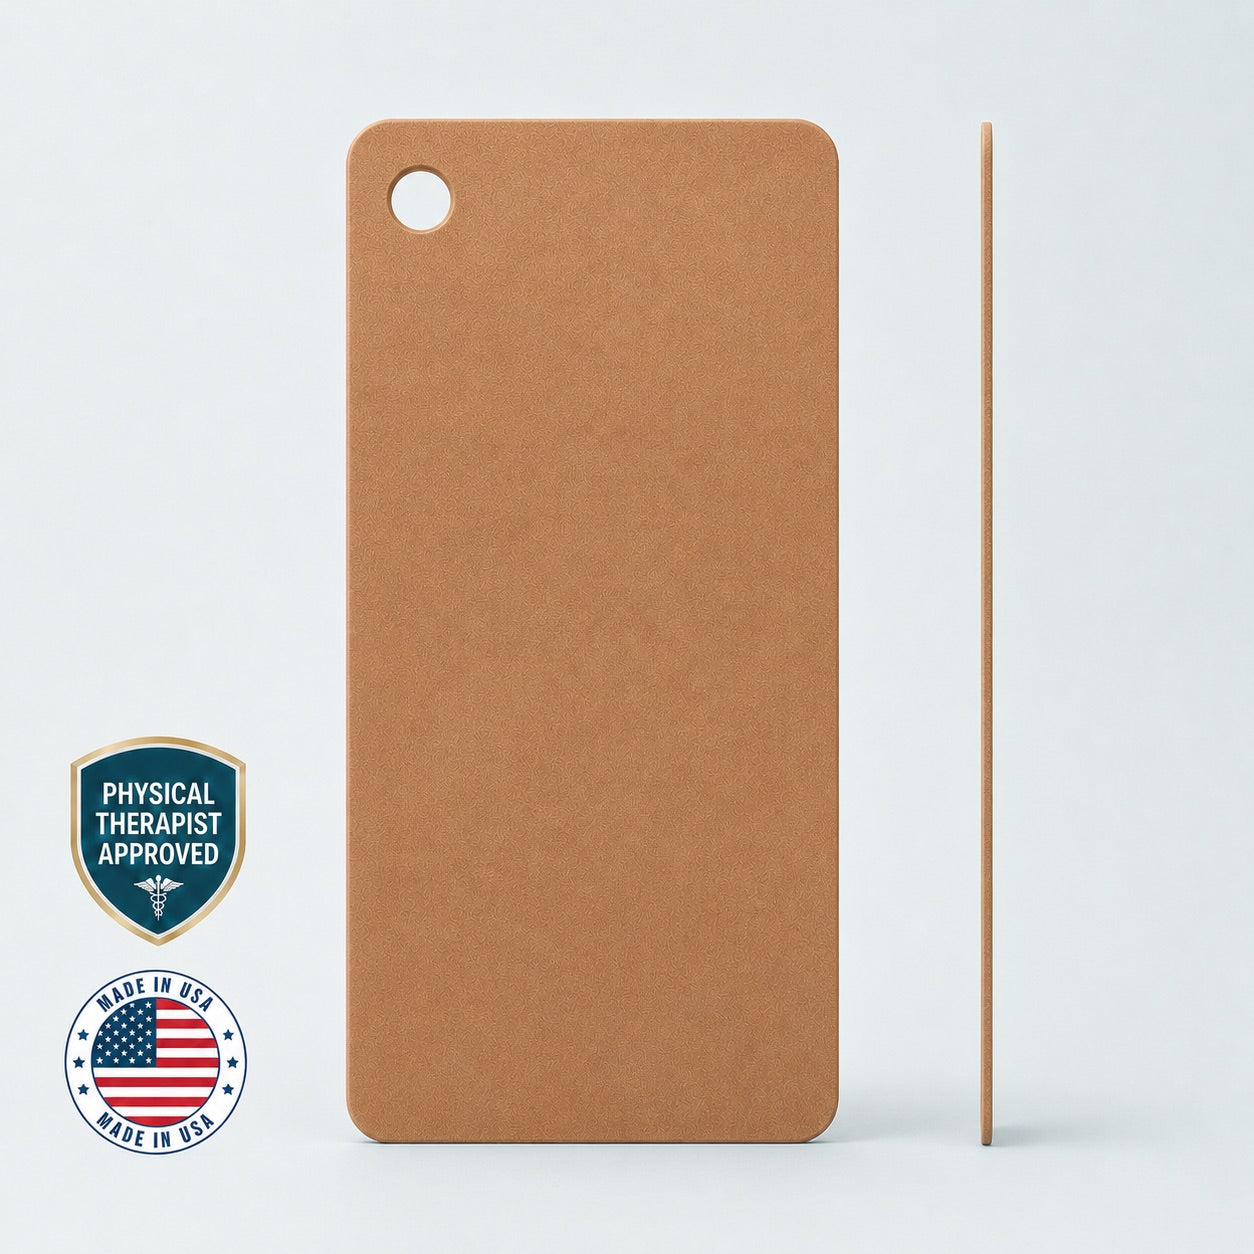
Whichever way you track it, here's the pace you're measuring against:

Don't Forget Extension: The Other Half of the Range
Wall heel slides and floor heel slides both chase flexion, the bending motion. Neither one, on its own, gets your leg straight.
Getting the knee fully straight is the goal too many patients skip past. A roller like the KneEXT with a heel cut-out lets your leg hang unsupported for a prolonged extension stretch, which is the piece heel slides don't cover.

Fire the quad, then bend, then straighten. Skip any one of the three and the range of motion you fall behind on in early weeks is the hardest to win back.
Building a Physical Therapy at Home Routine Around Both Versions
Most TKR patients get sent home with a printed exercise sheet and zero equipment — that gap is why the Total Knee Rehab Kit exists. Wall and floor heel slides both work fine on paper, but paper doesn't give you clinic-grade, low-friction surfaces at home.
Most of my patients stay on their back — in bed or on a firm surface — for at least the first month, using a hand pull, strap, or board to assist, and layer in extension work with the roller the whole time.
If flexion stalls once you're up and moving — and you can get down to the floor safely — the wall version can come in as a plateau-breaker with your physical therapist's sign-off.
Whichever version you're on, the dosing stays the same: 3 sets of 10 slides, two to four times a day, with a brief hold at your end range — and your surgeon or physical therapist's protocol wins if it says otherwise.
That progression, mapped out day by day, is exactly what our 12-week knee replacement recovery checklist walks through.

Recovering from a knee replacement right now?
Get my 12-week recovery checklist as a free printable PDF. One email. Stick it on the fridge and check off your milestones.
✓ Check your inbox. The checklist is on its way.
Frequently Asked Questions
Are wall heel slides better than floor heel slides for total knee replacement recovery?
For at least the first month, heel slides done lying on your back — in bed at first — are the better choice: they're easy to set up, and you control exactly how much stretch the knee gets. Wall heel slides deliver a stronger, gravity-driven stretch that a fresh knee usually isn't ready for, and they require a floor transfer most fresh knees aren't ready for either.
When should I add wall heel slides?
Not until you can get down to the floor and back up safely — around two months for most people — and only if you need them. They earn their place when flexion has plateaued and the joint has calmed down enough to tolerate a stronger stretch. Your surgeon or physical therapist's specific protocol should guide the exact timing.
Do I have to get on the floor to do floor heel slides?
No. Early on, do them lying in bed or on a firm couch — the position is what matters, not the surface. Getting down to the floor and back up safely takes most people around two months, so treat the actual floor as a later milestone, not a day-one requirement.
Do floor heel slides need special equipment?
Not strictly, but a low-friction surface makes a real difference. Bedsheets and carpet stick and stall your heel, which is why a heel slide board or a stretch strap is worth adding for physical therapy at home.
Can heel slides help with hip replacement recovery too?
Yes. The wall version in particular is popular in hip replacement recovery because it avoids hip adduction and crossing midline, which some early precautions restrict.
Is a heel slide board worth it?
If you're doing floor heel slides on carpet, hardwood, or a bedsheet, yes. A board eliminates the snagging that stalls your knee flexion short of where it should be, and it doubles as a table slide surface for rotator cuff repair recovery.
How many reps and how long should I hold each heel slide?
The rehab protocols we work from prescribe 3 sets of 10 slides, two to four times a day, with a brief hold of about 5 seconds at your end range — the same dosing for both wall and floor versions. If your surgeon or physical therapist's protocol says otherwise, theirs wins.
Do heel slides fix a stiff knee that won't straighten?
No. Heel slides address flexion (bending) only. A knee that won't straighten needs dedicated extension work — the leg propped with the heel elevated and nothing under the knee — as its own separate part of your routine. A heel cut-out roller like the KneEXT makes that position easier to hold.
Wall or Floor, Make Every Rep Count
For at least the first month, slide on your back — where getting started is easy and every degree of stretch is yours to control. Add the wall version later only if you've plateaued and your physical therapist agrees. Read our full heel slides guide for complete technique and every variation.
The EquipCore Heel Slide Board gives the floor version a smooth, consistent glide — so every rep goes into your bend instead of the carpet.
Shop the Heel Slide Board →PT-Designed | Free Shipping $50+ | 30-Day Returns
Disclaimer: This guide is for educational purposes and does not replace the advice of your surgeon or physical therapist. Always consult with your medical team before beginning new exercises.
Tell me what you're recovering from and where you're at — I'll point you to the right tool, or tell you honestly if you don't need one yet. Every message comes straight to me, and I read every one personally.